Love it or hate it, anytime you buy a new baseball glove, there comes the inevitable task of having to break it in. You see, leather gloves tend to feel pretty stiff when you take them out of the box and can be extremely uncomfortable to play with.
Since you won’t be able to bend the finger stalls properly, you will fumble even easy catches, and wearing it for a long time will start to strain your hands. It doesn’t last forever, though. Once you spend some time with your glove and break it in properly, it becomes soft and molds to the shape of your hand.
But the main thing here is your glove’s break-in. Some gloves come slightly broken in from the factory, while others require you to manually break them in completely. And unfortunately, there’s no way to go around it. If you bought a decent baseball glove, you need to go through this ritual.
This begs the question, though – how exactly do you break in a new glove? How long does it even take? And is there any way to accelerate the whole process? Well, these are the questions that I will address today.
Here, I will give you a few pointers on the different ways you can break in your baseball glove and help you get your gloves on the field as early as possible.
What is the Best Way to Break in a Baseball Glove?
It’s time to get to the main course. Frankly, there are a couple of ways you can break in a baseball glove. You could use hot water, glove oil, or even a microwave oven to break in your glove.

But if you ask me, the best way to break in your glove is to do it the old-school way. That’s what I will discuss now.
· Play Catch with It
The first step is the easiest one. All you have to do is play catch with your shiny new glove. Of course, the first time you wear your glove, it would feel stiff, heavy, and pretty uncomfortable. But don’t let that stop you from using it for a couple of hours.

You see, playing catch with your glove helps it mold to the shape of your hand. It also helps the pocket form properly, and the shock from catching the baseball will also make the leather softer. So, call a friend and get him to play a couple of rounds of catch with you.
· Shape the Glove
When you are done playing, take your glove back home and start pounding it with a rubber mallet. Pay special attention to the pocket while striking the glove. But don’t forget about striking other parts like the back, the palm, or even the finger stalls.
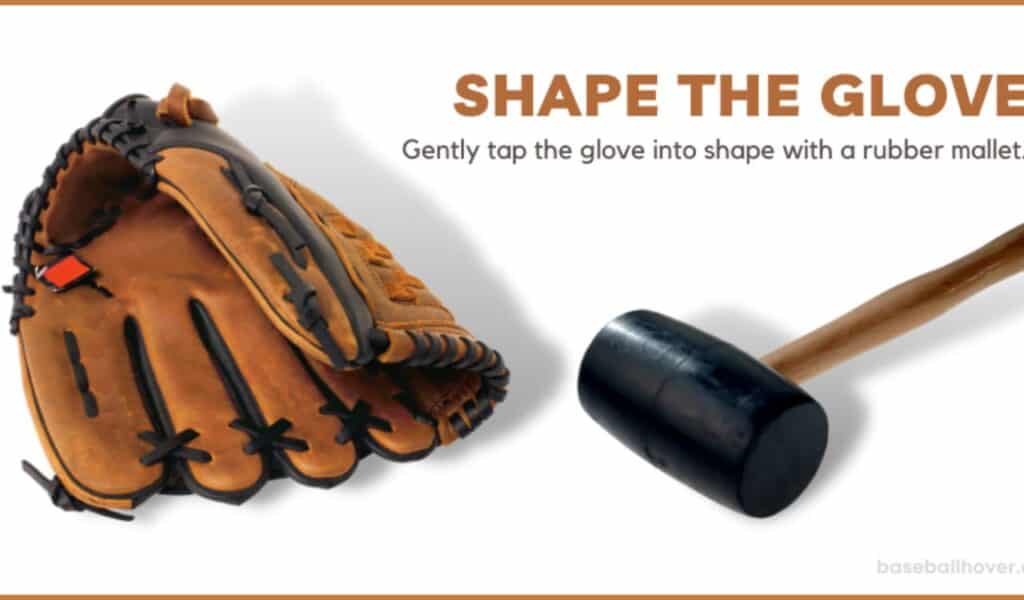
The pressure from the mallet will help soften the leather even further. Just make sure you don’t put too much force behind each strike. A gentle tap should be fine.
· Apply Glove Conditioner
Next, take your favorite bottle of baseball glove conditioner, apply a bit on a clean rag, and gently rub it across the entire surface of the glove in a small clockwise motion. Your goal is to cover the glove entirely, including hard-to-reach spots between the fingers and the thumb.
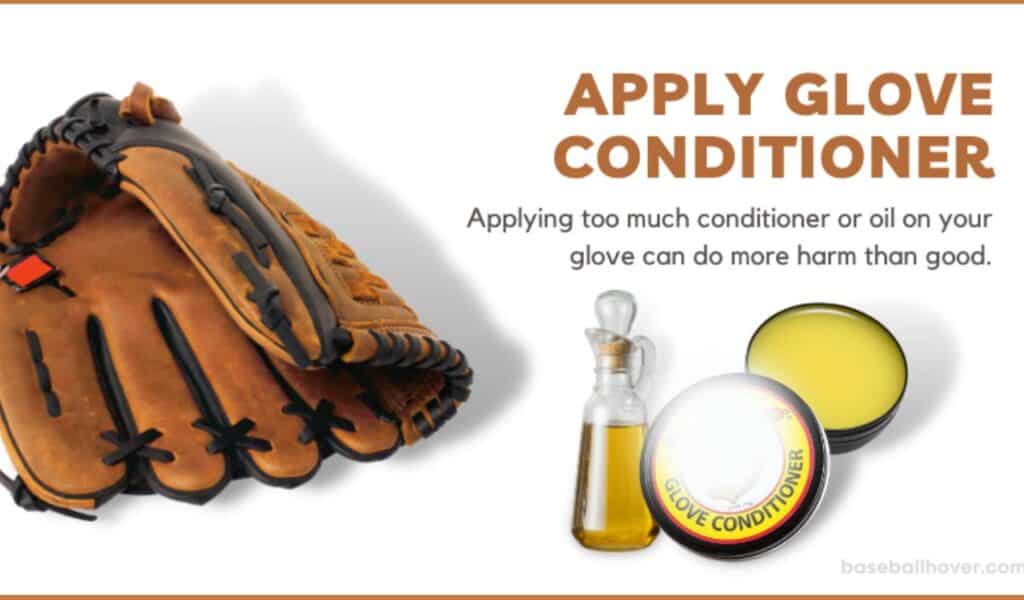
If you don’t have a glove conditioner, there are a couple of alternative glove oils that you can use. The important thing to remember here is to not overdo it. Applying too much conditioner or oil to your glove can do more harm than good.
· Ball in the Pocket
After you have covered the glove in the leather conditioner of your choosing, it’s time for a ball in the pocket. Take a baseball and place it in the glove’s pocket. Then take a couple of rubber bands and wrap them around the glove in a way that they hold the baseball in place tightly.
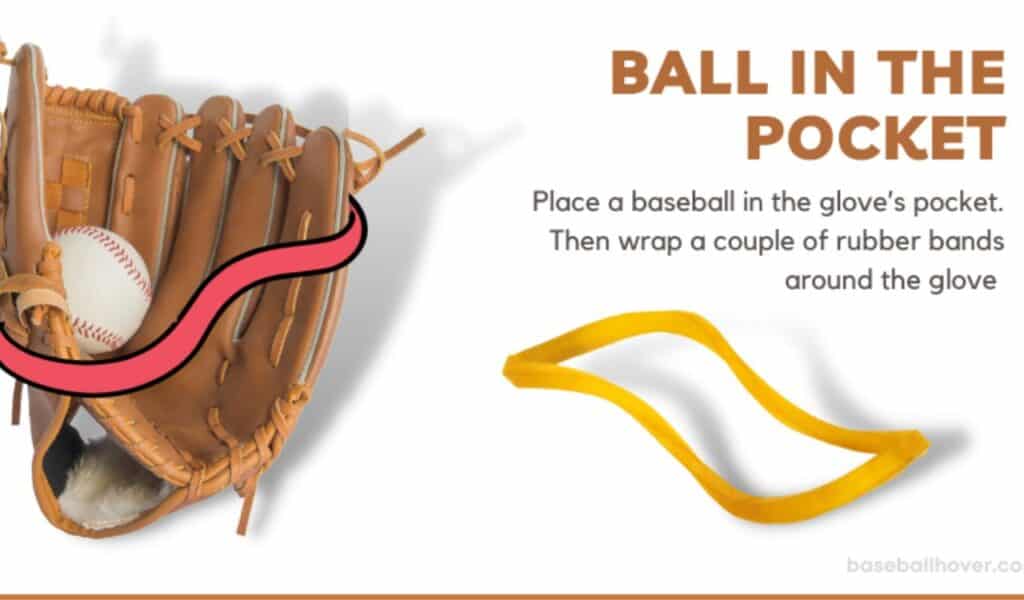
This trick will help the glove’s pocket form faster. Since the baseball is pressed tightly into the glove’s pocket, it will become deeper, helping you make those high catches much easier.
· Let it Rest
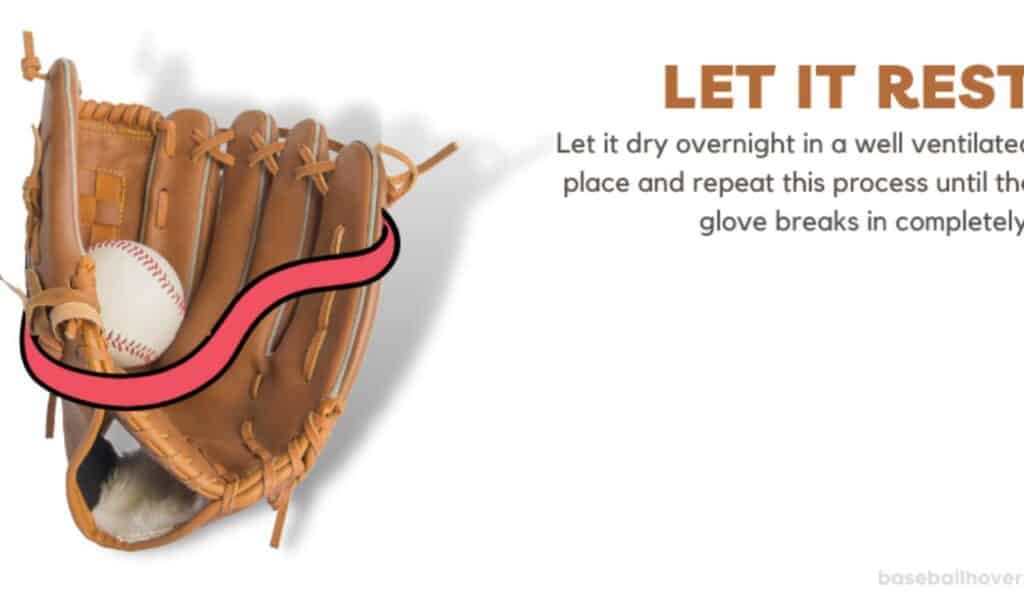
After you do all the steps above, it’s time to call it a day. Place your glove in a well-ventilated place to let it dry overnight. Keep in mind, though, this method will not break in your new glove overnight. You still need to repeat the process every day until it breaks in completely.
However, the reason why I call this the best method is that it doesn’t put your glove in any danger. There are quicker ways to break in your glove, which I will discuss, but there’s always some risk with those methods.
How to Break in a Baseball Glove Fast
Remember how I said there are a couple of methods to break in your glove overnight? Well, now that I have shown you the right way to do it, let me give you a shortcut. Keep in mind, though, this can be damaging to your glove. So, if you want to go for it, you have no one to blame but yourself.
If you want your glove to break in fast, then you can use a microwave oven to make it happen. The first step is to prepare the glove by applying a bit of shaving cream and rubbing it around the surface of the glove. Then you need to preheat the oven to around 350 degrees.
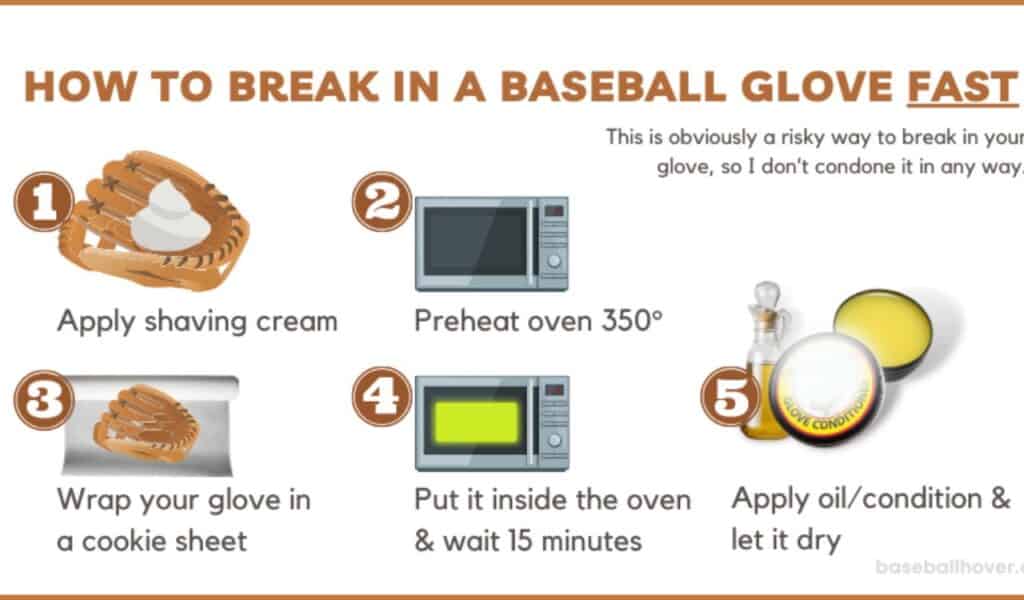
After that, wrap your glove in a cookie sheet and put it inside the oven. Close the lid and keep a close eye on the glove. After about 15 minutes, take the glove out, and you’ll notice that it’s become soft and supple.
Now you need to oil and condition your glove again, and it should feel completely broken in by the time it dries. This is obviously a risky way to break in your glove, so I don’t condone it in any way. If you want a more in-depth walkthrough of this method, along with a clearer picture of the risks involved, you can check out my article here.
How to Break in a Baseball Glove with Oil
Breaking in a baseball glove with oil means instead of using a glove conditioner, you would use glove oils. Now, many people don’t like using oil to break in their gloves since there’s a small risk here.
You see not all types of oil work well on baseball gloves. While lanolin oil works wonders, using something like neatsfoot oil to break in your glove might not be the best idea.
Using the wrong type of oil to break in your glove can make it heavier. On top of that, the leather might become vulnerable, causing it to crack within a couple of months. So if you do decide to use oil to break in your glove, make sure you are well aware of the risks.
Also, try reading up on different types of oil and their effects on a baseball glove. A nice alternative to oil is using Vaseline to break in your glove.
How to Break in a Baseball Glove with Hot Water?
Another clever way to break in your baseball glove quickly is to use hot water. In fact, many glove enthusiasts and veteran players use this method when they want to get their gloves game-ready as soon as possible.
Here are the steps to breaking in your baseball glove with hot water:

· Step – 1
First, warm up a bottle of water. Make sure the water isn’t boiling hot, or it will damage the leather. Pour the water into the pocket of the glove with the finger side up. You don’t want the water to get inside the finger stalls.
The idea here is to let the hot water soften and stretch the leather. It will, in turn, make it easier for you to shape the glove the way you like it.
· Step – 2
Hold your glove in a way that the back of the glove is facing your chest and the finger stalls are pointing upwards. Then hold your glove by the bottom area of the thumb and pinky and squeeze them while jockeying them back and forth. This will cause the heel pad to become softer.
· Step – 3
After squeezing for a bit, it’s time to stretch. Keep holding the glove in the same position, and this time try to pull it outwards. This motion will cause the finger tops and web lace to stretch. But once the glove dries, it will return to its original state, so don’t let that alarm you.
· Step – 4
Now that you have squeezed and stretched your glove to your heart’s content, it’s time to bring out your mallet. You need to form the pocket of your glove. But before you do that, think about your playing position, as that would dictate the optimal pocket depth for you.
If you are playing in the infield, you want a shallow pocket. Inversely, as an outfielder, you want the pocket to be deeper. Once you know your pocket preference, start pounding the glove.
· Step – 5
After pounding and forming the glove’s pocket, move on to pounding the back side of your glove. Start on the thumb side and move towards the rest of the area going back and forth. This will make it easier for you to close your baseball glove later on.
· Step – 6
Once you are happy with the break-in, stop pounding the glove and play some catch with it. If you did everything properly, the glove should be ready for your next match.
How Long Does It Take to Break in a Baseball Glove?
Baseball gloves are generally made of leather. And how long it will take for you to break in your glove mostly depends on the quality of the leather. Some leather types are softer and require little breaking in. However, if you are using heavy-duty leather that’s hard at first, be prepared to spend quite a while breaking in your glove.

If you went for a synthetic glove instead of a leather one, however, you don’t need to worry about all that. One of the major perks of going with a synthetic glove, apart from its affordable price, is that it’s much softer than real leather. So, you can start playing with it the moment you get your hands on it.
Then again, synthetic leather gloves don’t last as long as genuine leather baseball gloves. And they also don’t feel as comfortable. If you want to avoid the hassle of breaking in your new glove, synthetic gloves are an option, but there are some obvious tradeoffs here.
For leather gloves, as I said already, the type of leather used to make the glove plays a huge role in its break-in period. Here are some of the common leathers used to make a baseball glove, along with a rough idea of how long it would take for you to break them in.
· Full Grain Leather Break-in Time
There are several types of full-grain leather that you can find in baseball gloves. Some are expensive, but most leather gloves made of this material are in the affordable range. You can pick up a full-grain leather baseball glove for under 150 dollars easily.

Now full-grain leather gloves are hard and require a long time to break in. You are looking at a month of a tedious break-in if you want to soften it up fully. But thankfully, most full-grain leather gloves come with a factory break-in to make things easier for the player. In most cases, you only need to do around 50 percent of the break-in.
· Cowhide Leather Break-in Time
Cowhide leather gloves are more expensive than full-grain leather ones but offer a significant improvement both in terms of performance and quality. It is generally softer than full-grain leather and requires less effort to break in properly. And once it’s fully broken in, it also lasts longer than full-grain leather.
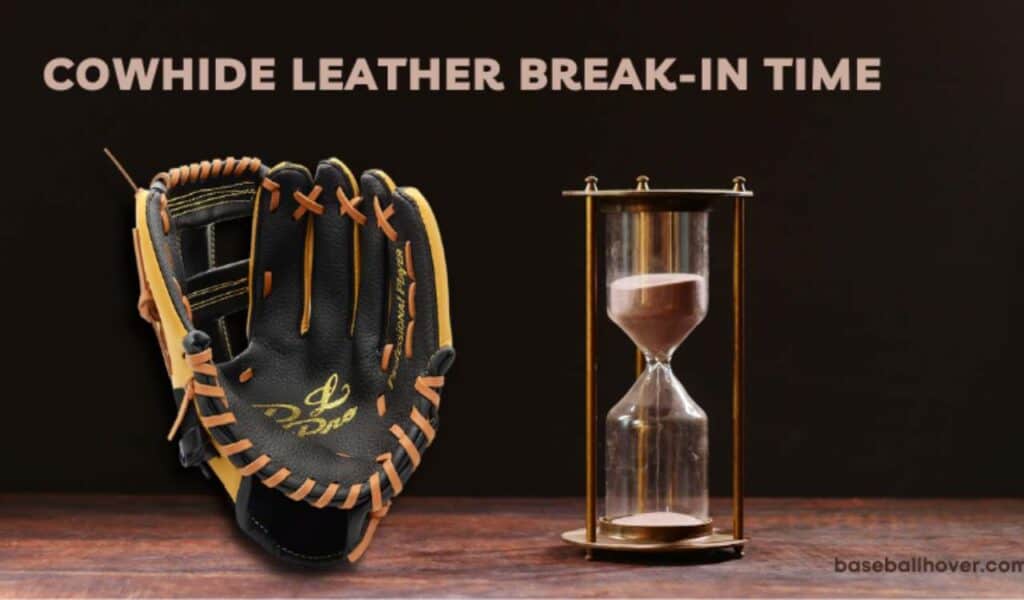
If you play catch with your glove regularly, you should be able to break in your cowhide leather glove within one or two weeks. Since cowhide leather offers a premium feel and lasts a couple of seasons easily, it’s the material of choice for most high-school baseball players.
· Steerhide Leather Break-in Time
If you were wondering what baseball gloves most MLB pros use, then here’s your answer – Steerhide leather. This is a premium-quality leather that feels heavy and stiff to the touch before you break it in. Gloves made of steerhide leather tend to cost around 200 to 300 dollars.
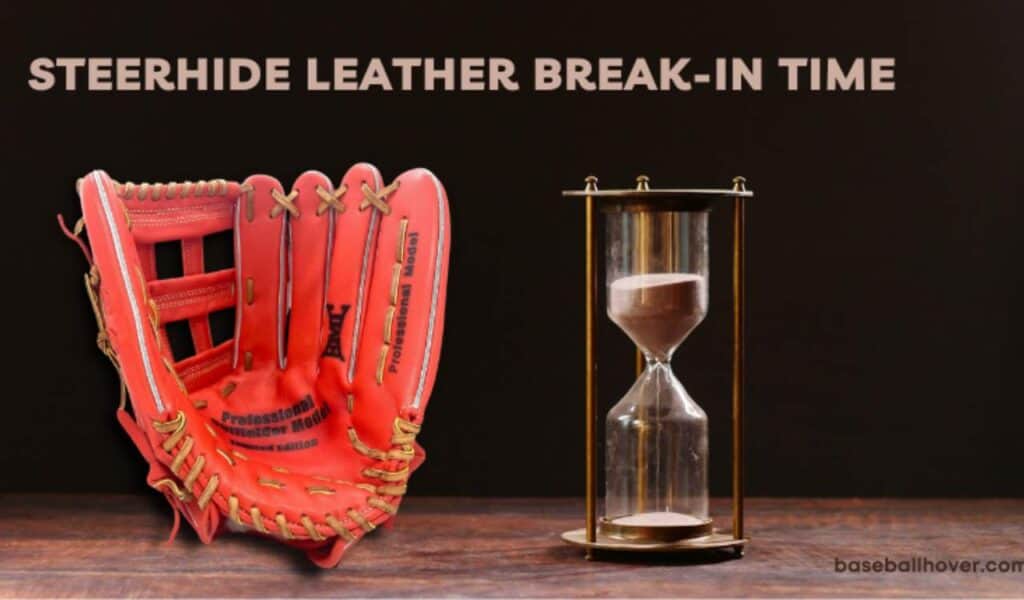
Now since the glove is heavier, its break-in period is typically longer. Breaking in a steerhide leather can take you around a month. So, if you are planning to get a steerhide leather glove for your next match, be prepared for an extensive and thorough break-in routine.
· Kip Leather Break-in Time
The most high-quality leather type that’s used to manufacture premium baseball gloves would have to be Kip leather. There are two types of kip leather – American and Japanese. Both of them are expensive, but the Japanese Kip leather gloves are generally a bit pricier.

The best part of Kip leather baseball gloves is that it’s extremely soft and durable. Breaking it in requires practically no effort, and you can make it game-ready in as little as a week. Of course, the main problem with this type of baseball glove is getting your hands on it since it’s so expensive.
What Can I Use to Break in a Baseball Glove?
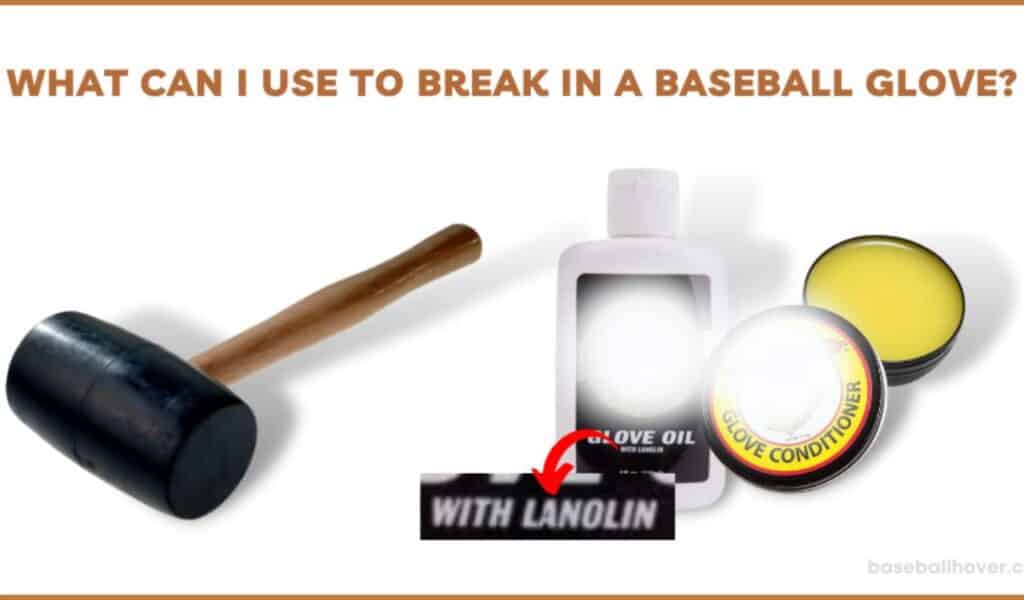
You can break in your glove without using any additional tools, but I’ll admit having a couple of gears can help accelerate the process. If you want to speed up the break-in of your new baseball glove, there are two things that I can recommend – a rubber mallet and a lanolin-based glove conditioner.
· Rubber Mallet:
I’m sure you are wondering – how can a rubber mallet help when I am breaking in a new glove? Well, as weird as it may sound, hammering a baseball glove with a rubber mallet can help you get it quickly into shape. In addition, striking the glove will also make the leather soft.
· Glove Conditioner:
Using a glove conditioner on your glove is an essential part of breaking it in. But you don’t want to go with just any leather conditioner or oils. Instead, you should go with a sports-approved conditioner that is designed for this very purpose. Make sure the conditioner contains lanolin oil as its main ingredient.
Do Professional Baseball Players Break in Their Gloves?
Breaking in a baseball glove is a long and tedious process. And it’s natural to wonder if the MLB pros also break in their gloves the same way as you do. Well, the answer is – yes, but they follow a nice pattern.
You see, there’s no way around breaking in your glove. If you want a glove that fits nicely in your hand and allows you to make confident catches, then you need to break it in yourself. You can’t just delegate the task since the glove needs to be worn in your hands for it to mold to the shape of your hand.

What an MLB pro does is that they always keep two gloves in their inventory all the time. One is the main glove that they have already broken in before. They use this glove for all their competitive matches.
The other glove that they keep is the one that they will switch to if their main glove gets damaged. Unlike the main glove, the secondary glove isn’t broken in yet. They use their second glove in all their training sessions. And since they train almost daily, the secondary glove gets broken in naturally.
Besides, professional-grade baseball gloves do not require as much break-in as gloves that are made for general users. So, they do not need to spend as much time breaking in their gloves as you. But regardless, they still need to pay attention to their gloves when they are trying to break it in.
What Baseball Glove is the Easiest to Break in?
The difficulty of breaking in your baseball glove usually depends on the type of leather used to make it. Typically, more expensive gloves that come with heavier leather are quite tricky to break in. But the exception here is Kip leather.
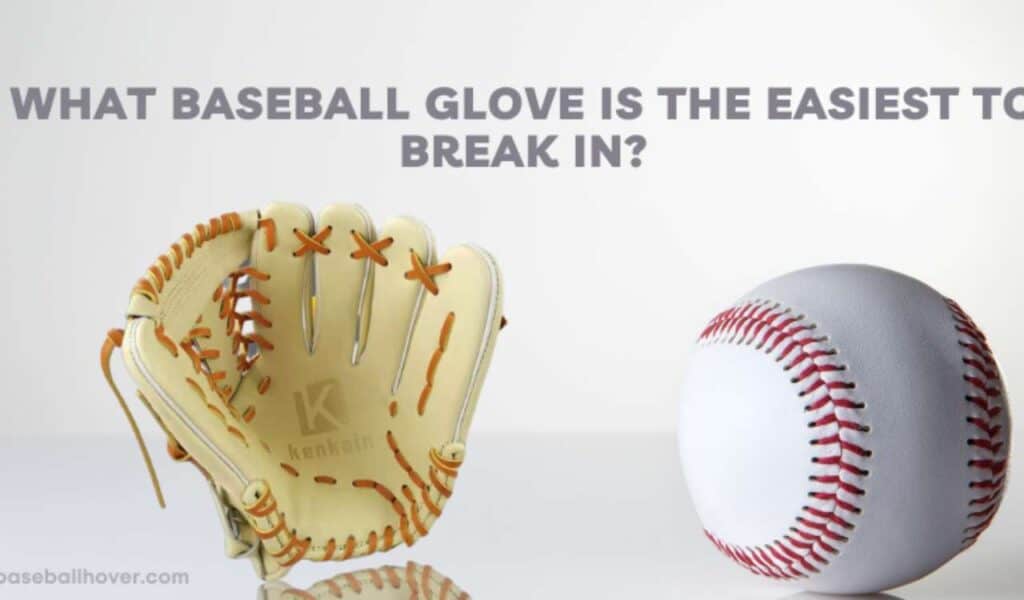
Despite boasting impressive durability and an expensive price tag to boot, Kip leather baseball gloves are the easiest ones to break in. They are extremely soft, and in fact, you can start using them the moment you get your hands on them. But they also adjust slightly to your hand’s shape after a couple of days of use.
With Kip leather gloves, you don’t really have to go out of your way to break it in. Playing a few days of catch while wearing the glove is enough to break in the glove fully.
Now That We’re Here
To many ball players out there, breaking in their glove is a very satisfying experience. It takes time, sure, but when you are finally done with it, the end result is extremely rewarding. Your glove feels much better in your hands, and its responsiveness improves by a huge margin.
So even if it feels tedious, don’t ignore it. There are some shops that break in your glove for a cost, but personally, I wouldn’t recommend going with them. End of the day, it’s your glove, and you should be the one to break it in.
I hope my article on how to break in a baseball glove could help you make your baseball glove game-ready the right way. Cheers!
