With the baseball season coming up just around the bend, it’s time to get your gears in order. And if your old baseball glove is on the verge of dying, or you are just starting out as a rookie, now is a great opportunity to go out and get yourself a new baseball glove.
Of course, buying a new glove is a challenge of its own, but I’m assuming you did your due research before you picked one up. But just buying a glove doesn’t mean it’s ready to be used right away. You need to loosen it up and make it comfortable in your hands. This is what the players call breaking in a new glove.
I’ll say this right away, the best way to break in a new baseball glove is to simply play with it. It takes a while to break in this way, but at least it’s perfectly safe for your glove. But if you are short on time or just impatient, you might be wondering how you could break in your baseball glove in the oven.
Well, that’s exactly what I’m here to talk about. Though I am not a huge fan of this approach myself, I will still give you a quick rundown of how you can use your oven to break in your baseball glove quickly and safely.
Can You Break in a Baseball Glove in the Oven
As weird as it may sound, it is, in fact, possible to break in your baseball glove in the oven. But the question of whether it’s safe and practical is a whole other matter.
You see, the main purpose of ovens or microwaves is to cook your food. And gloves are made of leather, which is essentially dead animal skin. It’s not edible, and it’s meant to be kept out of your oven.
The reason why people use the oven to break in their new gloves is that leather softens up when you apply heat to it. An oven is a great source of uniform heat in all directions. So, when you heat up the leather glove inside an oven, it becomes soft and supple.
But wait – isn’t that a good thing? A soft and flexible leather means that the glove is broken in and good to be used, right? Well, not exactly.

When you put a glove in the oven and “bake” it, you’re essentially blowing hot air into it. And while this turns the leather soft, it also makes it dry. It might not be apparent at first, but once the glove cools down, it might even turn hard.
To counteract this issue, people who use this method need to condition their gloves immediately after taking them out of the oven. Yes, this salvages the glove, and if you do everything perfectly, it will not have any lasting negative impact on your glove.
But if you don’t condition the glove properly or mess up one of the steps, your glove can easily get damaged beyond repair. And when you are breaking in an expensive baseball glove that you just bought, taking this level of risk just doesn’t seem worth it if you ask me.
How to Break in a Baseball Glove in the Oven
I don’t mean to sound like a broken record, but it bears repeating – using your oven to break in your new glove isn’t the best way to go about it. If you are not careful, you can easily damage your leather and cause the material to crack or warp. The old-fashioned way can be time-consuming, but it’s a lot safer.
But if you still want to go along with it, I won’t stop you. So here are the steps to breaking in your baseball glove in the oven.

Step – 1: Prepare the Glove
The first thing you need to do is prepare your glove for the oven so that it softens up without drying up. When the heat is turned on in the oven, it will remove the moisture from your glove. So, you need to moisten your glove beforehand with warm water.
Avoid using boiling water for this, though; you don’t want to heat up the leather to an excessive degree. Also, if you want to moisten the glove, avoid soaking it entirely in the bowl. Once the glove is moistened, apply a bit of glove foam or shaving cream on the glove and gently work it into the surface.
Step – 2: Preheat the Oven
With the glove ready, you need to turn your attention to the oven. Preheat the oven to around 340 – 350 degrees. Once the oven is heated to the desired temperature, turn it off.
Step – 3: Insert the Glove
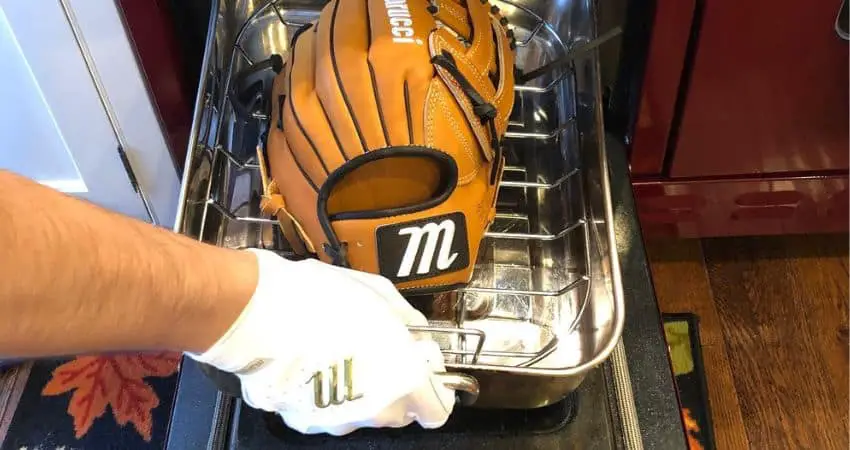
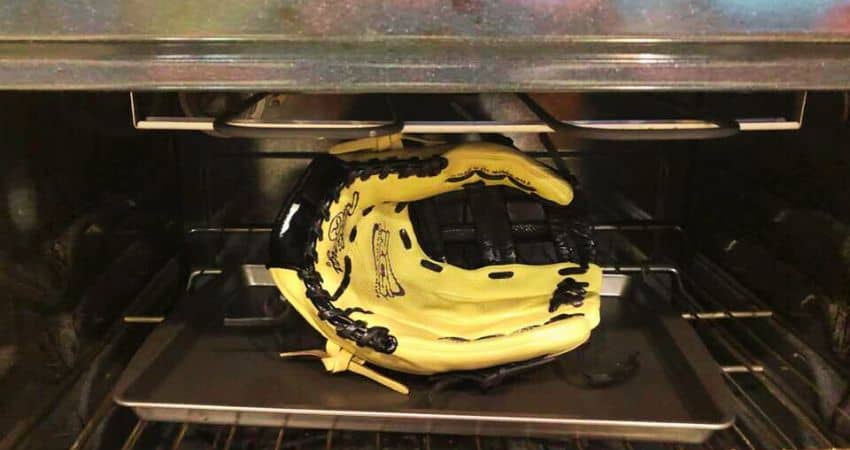
Now, put your baseball glove on a cookie sheet and place it inside the oven and close the door. You need to keep the glove inside for around 15 minutes. Remember to check in every few minutes to make sure your glove is getting heated evenly.
Step – 4: Take the Glove Out
If you are still with me, I’m assuming things are going well and your glove didn’t catch on fire (yes, that can happen)! Once the 15 minutes have passed, take your glove out of the oven. The glove should feel nice and soft.
Now comes the tricky part, even though the glove feels hot, you need to stretch and hammer it as much as you can. Your goal is to work it in as much as possible for the next 10 minutes.
If the glove still feels stiff, you might need to repeat the process. Preheat the oven again, and put your glove inside for 10 minutes. However, this time, put a baseball in the glove pocket and tie it up with elastic or a rubber band. This will help keep the shape of the pocket intact.
Step – 4: Oil and Condition
Once your glove feels soft and broken in, it’s time to condition it. Make sure you are using a sports-approved glove conditioner for the best results. However, if you don’t have one, there are a couple of good alternatives to glove oil.
Make sure you don’t go overboard with oil use, though. Applying a bit on a soft cloth and rubbing it into the material is the best way to proceed. Once the entire surface of the glove is covered, wipe off the excess using a clean rag and leave the glove out to dry.
Step – 5: Test out your Glove
After conditioning your glove and letting it dry overnight, it should feel a lot softer in your hand. I would still recommend playing catch with it regularly, as the glove can soften up further over time.
That’s about all there’s to it. This is a quick way to break in your new leather baseball glove. However, if you bought a plastic or vinyl baseball glove, avoid putting it in the oven. Plastic can melt, and vinyl gloves can easily catch fire. So, use this method only for leather gloves, and even then, proceed with extreme caution.
How Long to Put Baseball Glove in Oven
Putting a baseball glove in an oven is risky business. It can catch on fire if you keep it inside too long. So, you should always keep a fire extinguisher nearby if you want to take this approach to breaking in your baseball glove.

In this method, you don’t want to keep your glove inside the oven any longer than 15 minutes at a time. And if you need to repeat the steps, then put your glove inside the glove only for 10 minutes at a time.
Going over 10 or 15 minutes with your baseball glove inside an oven is not a bright idea. Even if your glove doesn’t catch fire, the heat inside the oven can suck out all the moisture from your glove, leaving it extremely brittle.
With That Said
Breaking in your new high-end baseball glove can take a while. And I can understand how it gets frustrating when you can’t even use your glove the moment you buy it. But using your oven to speed up the break-in process isn’t exactly the best way to proceed.
In the end, though, it’s your neck on the line. And it’s my job to tell you about the risks beforehand. So, if you think it’s a good idea to break in your baseball glove, go for it. But if things go south, you have no one to blame but yourself.
I hope my article could provide you with enough information to safely break in your baseball glove in the oven. Cheers!
